Kiev Cake
A recipe for one of the famous cakes from the Soviet culinary heritage. During Soviet times, the Kiev Cake was rarely available for purchase. People had to obtain it through various means. In the capital of the Soviet Union, a gift of a Kiev Cake could solve many problems. There are many legends surrounding the creation of this cake. One of them suggests that in 1965, at the Karl Marx Confectionery Factory, the confectioners forgot to refrigerate the egg whites intended for sponge cake. The head of the sponge cake department, Konstantin Petrenko, along with his assistant Nadezhda Chernogor, tried to correct their colleagues' mistake and baked a cake with meringue layers and cream, which later became a symbol of Kiev and gained huge popularity.
To make a traditional Kiev Cake, you will need 2-3 days because you need time to mature the egg whites and dry the layers. Maturing (or aging) the egg whites is necessary because during storage (ageing) at 30-40 degrees Celsius for a day, some of the moisture evaporates, increasing the concentration of coagulated protein molecules in the egg whites. Consequently, the egg white whips better, resulting in a more airy structure. This gives the layers their unique porousness and tenderness.
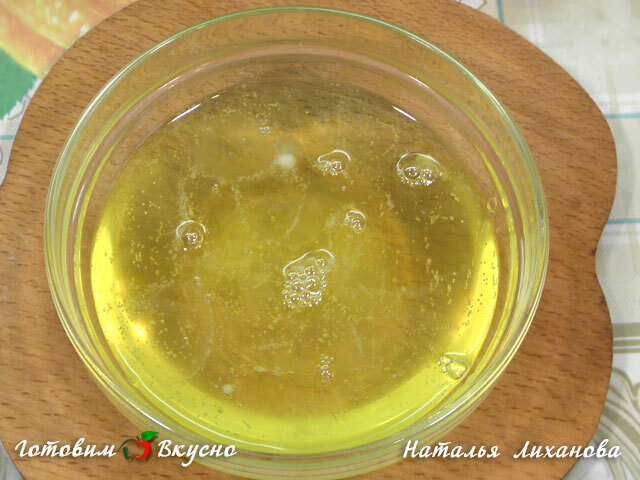
To make the Kiev Cake, separate 6 egg whites into two bowls. Cover with plastic wrap and place in a warm spot (30-40 degrees Fahrenheit) for a day. Cover the yolks with plastic wrap and refrigerate; they will be needed for the cream. After 24 hours, the egg whites will have a more liquid texture, with small bubbles forming - they are now soured and ready to be used.
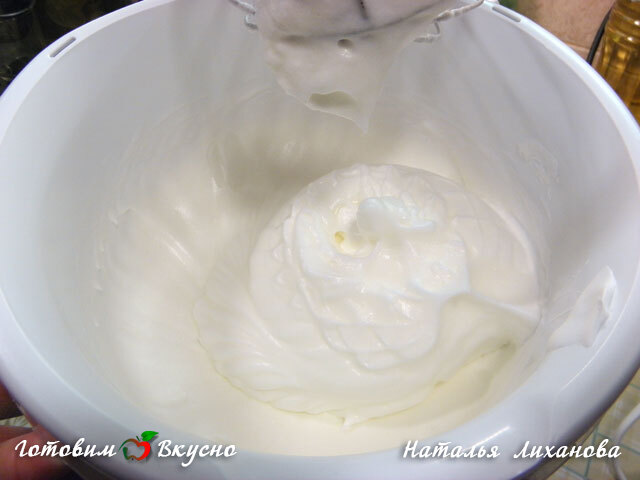
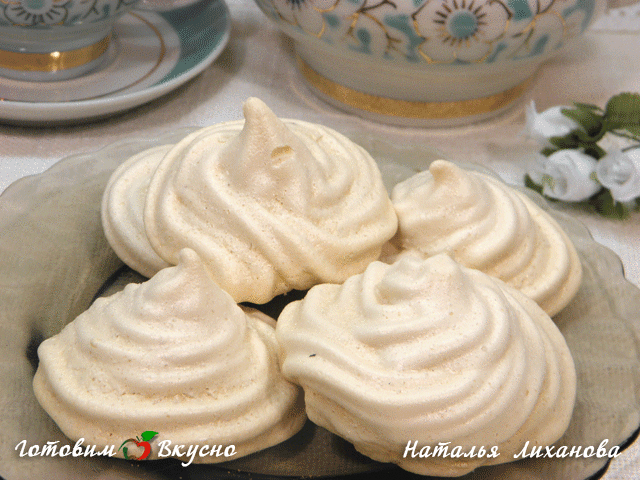
Prepare the batter for the 1st layer. Beat the egg whites (6) in a mixer on high speed until stiff peaks form. While continuing to beat, add 1 packet of vanilla sugar and 50 g of sugar.
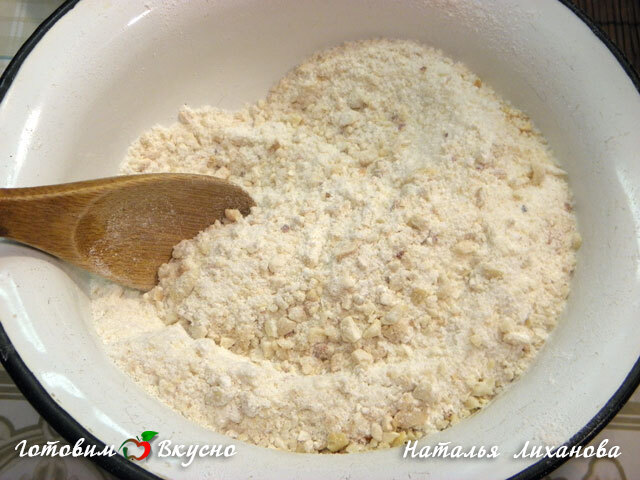
In a separate bowl, mix 195 g of sugar, 50 g of flour, and 150 g of toasted and lightly crushed nuts. Do not crush the nuts too finely; there should be both large and small pieces. You can use a blender or place the nuts in a bag and crush them with a rolling pin.
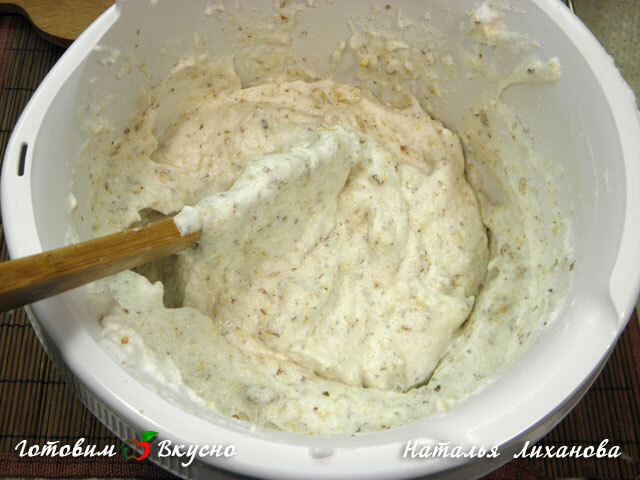
Add the nut mixture to the egg white mixture and gently fold in one direction from bottom to top until well combined.
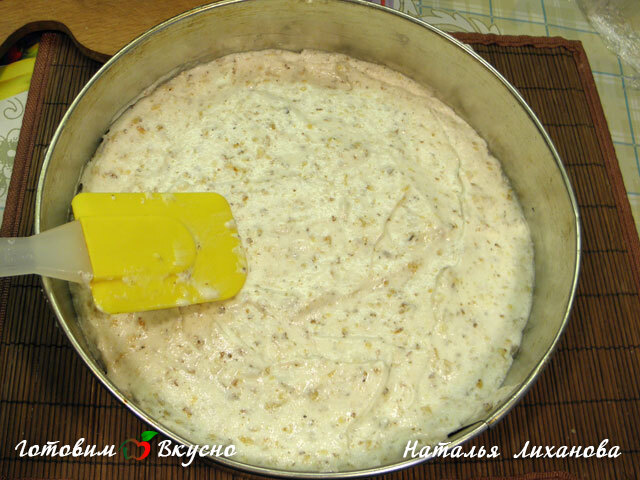
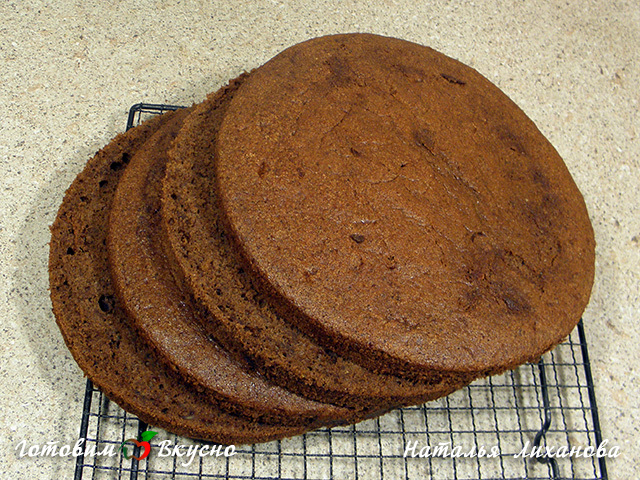
Use a 28 cm diameter detachable cake pan. Line the bottom with parchment paper and grease it. Pour the batter into the pan and level it slightly. Prepare the batter for the 2nd layer in the same way. If you have two pans, you can bake two layers simultaneously. If you have only one pan, prepare the batter for the second layer just before baking.
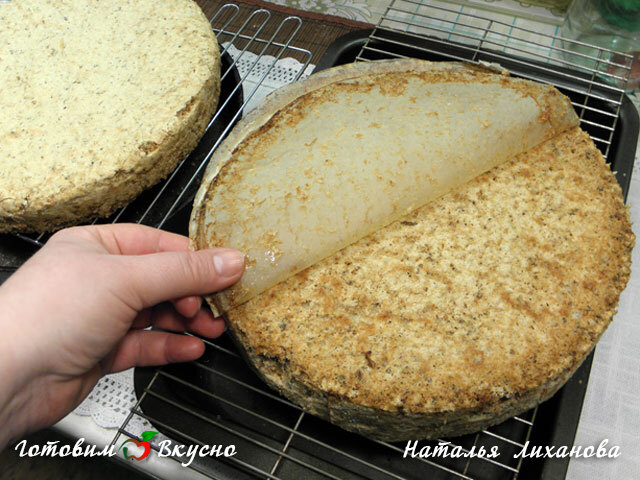
Bake the layers in a preheated oven for 2-2.5 hours at 150 degrees Fahrenheit. Remove the baked layers from the pan, peel off the parchment paper, and dry them for an additional 12-24 hours.
Why dry the layers? The cream contains a lot of moisture, and if the layers are not dried, the cake will just melt. Dry the layers in a dry room, away from, for example, a boiling kettle, as these layers easily absorb moisture.
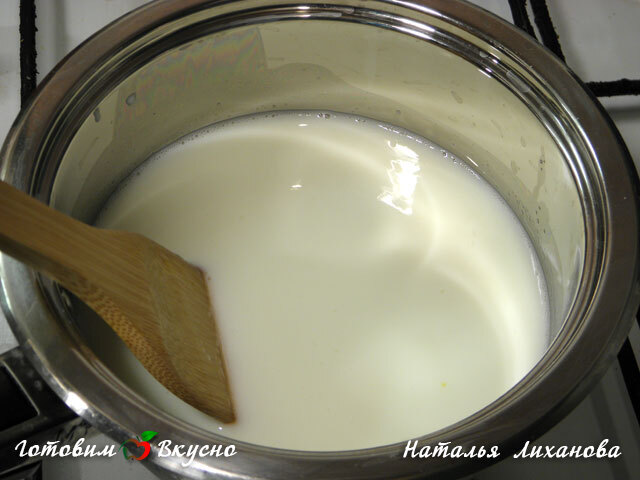
For the Kiev Cake, a Charlotte buttercream is used, which we will now prepare. Pour milk into a saucepan, add sugar, and heat while stirring constantly until it boils.

In a separate bowl, whisk 12 egg yolks by hand, and gradually (to prevent curdling) add half of the hot milk syrup. Pour the mixture back into the saucepan and cook, stirring constantly, until thickened (the mixture should resemble slightly runny condensed milk or jelly). Allow the mixture to cool; it will thicken slightly upon cooling.
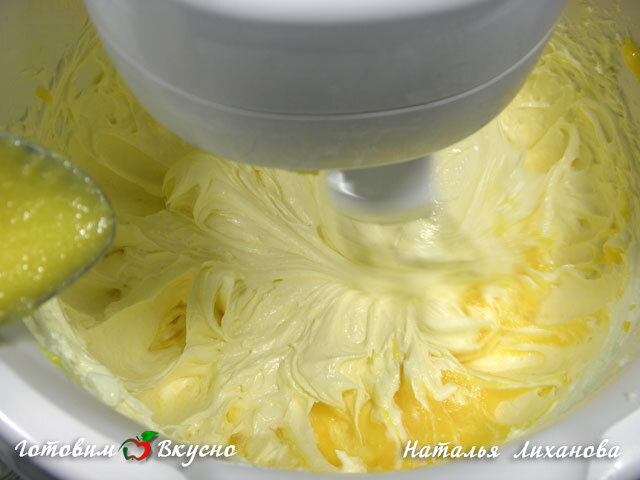
Beat softened butter and a packet of vanilla sugar at high speed until fluffy. Gradually, while continuing to beat, add the cooled milk-egg syrup and 2 tbsp. of brandy. The cream should be fluffy and homogeneous.
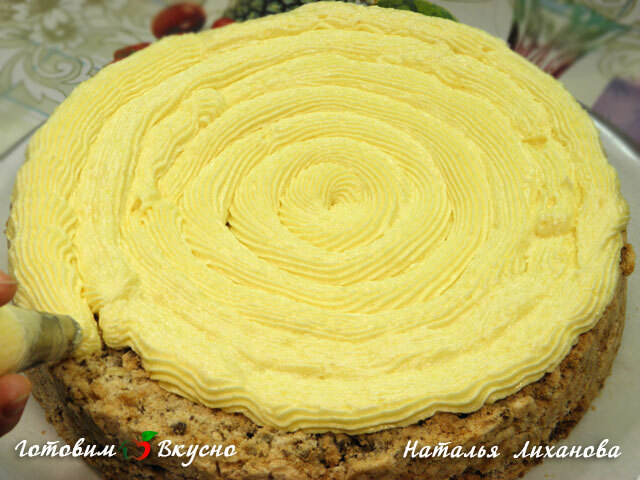
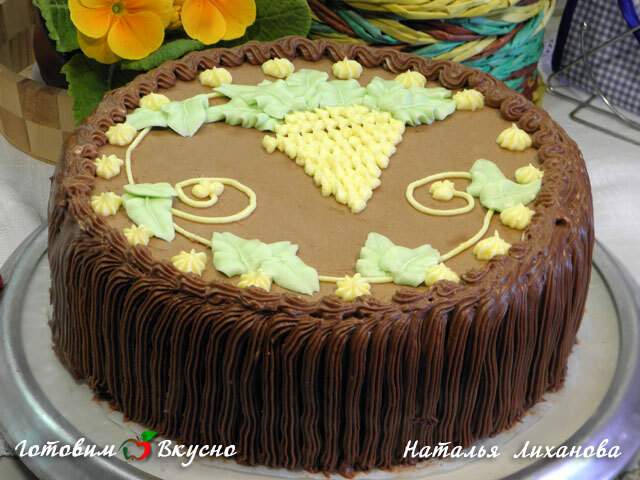
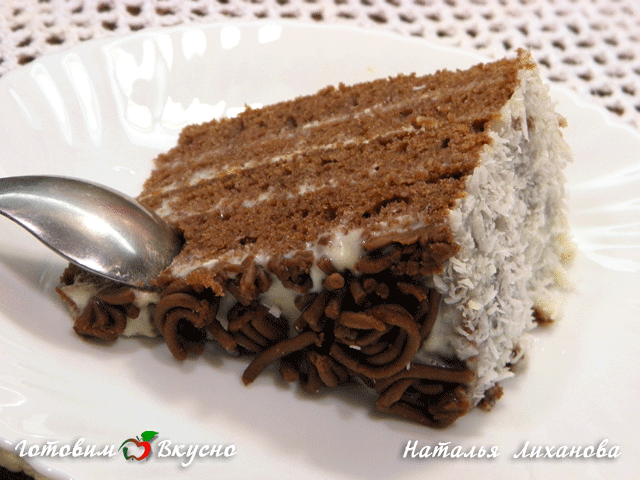
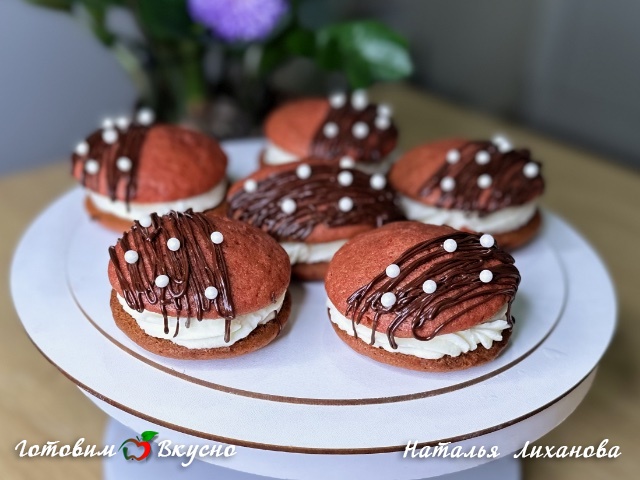
Assemble the cake. The Kiev Cake has two types of cream: white inside and chocolate on top. Place the first layer on a serving dish and cover it with a thick layer of Charlotte cream. It's convenient to use a pastry bag with a large tip for this step.
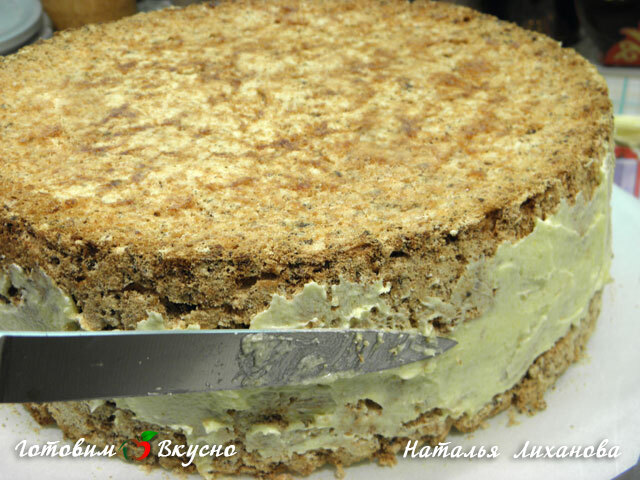
Place the second layer on top, smooth side up. Gently press it down, and spread the remaining cream neatly with a knife or spatula.
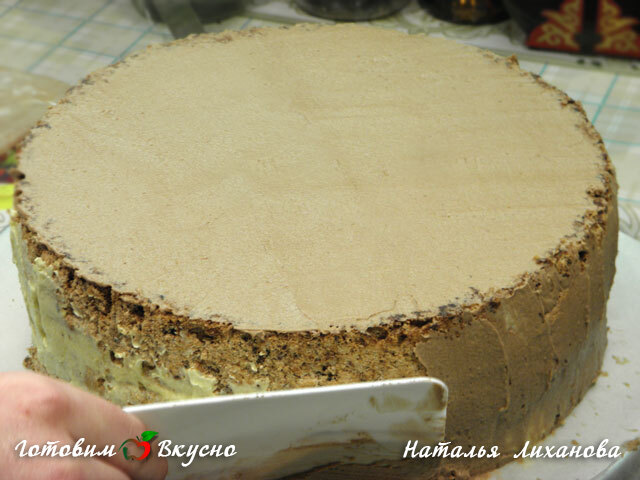
Set aside a small portion of the white cream for decoration. Add 20 g of sifted cocoa to the remaining cream and mix well to obtain a uniform chocolate cream. Coat the sides and top of the cake with the chocolate cream.
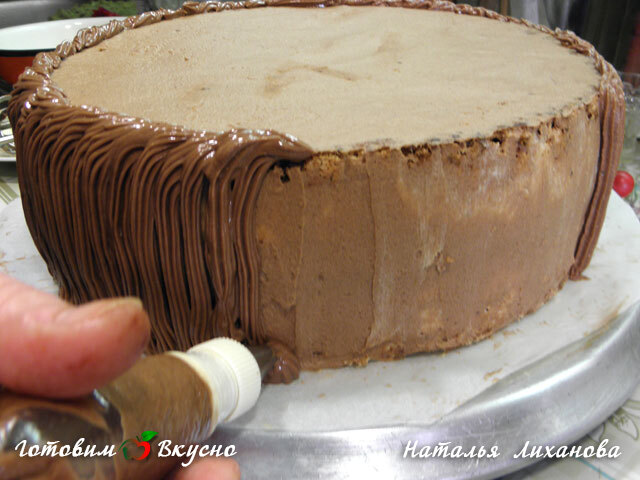
You can sprinkle the sides of the cake with crushed nuts or cake crumbs or decorate it with cream. I decorated it with cream, adding a little more cocoa to make the cream slightly darker in color.

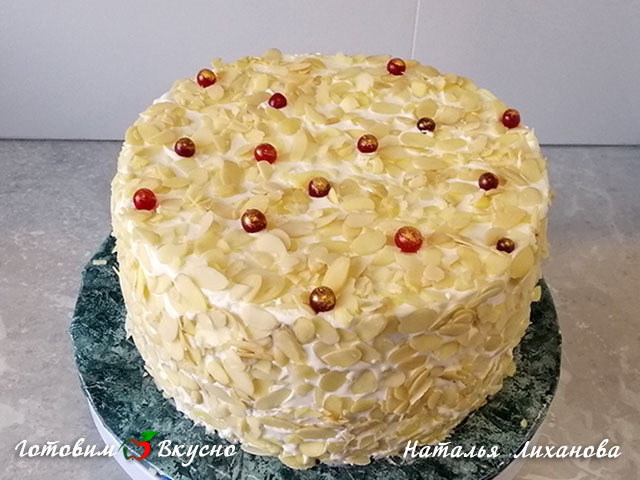
Take a pastry bag or syringe, pastry tips, unleash your creativity, and decorate the Kiev Cake. To obtain different cream colors, use food coloring or beet juice, spinach juice, carrot juice... This cake cannot be called easy to make, but it's worth it! A very delicious cake!
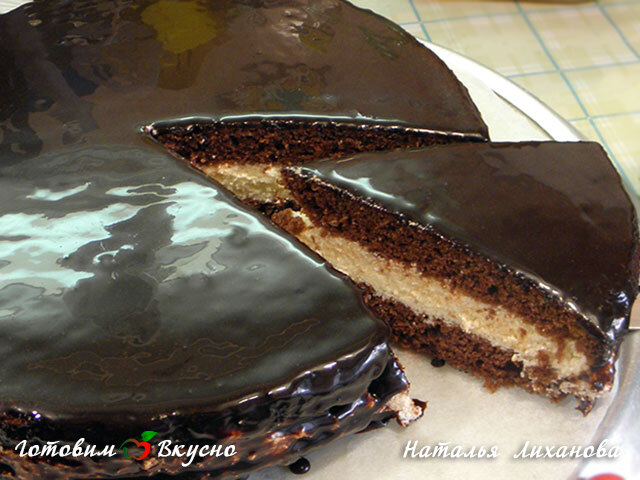

I made the Kiev Cake with cashew nuts and also tried it with walnuts. In my opinion, the first option is better as it is the classic one (although both versions are very tasty!). Initially, cashew nuts were used in the Kiev Cake, but due to their high cost, forest nuts, peanuts, or walnuts started being used.